Powerlifting for Beginners Your First Strength Guide
Powerlifting is brutally simple: lift the most weight you possibly can for one single rep in the squat, bench press, and deadlift. That's it. It’s one of the most direct ways to build real, functional strength, and it’s open to absolutely anyone who’s willing to put in the work, no matter where you're starting from.
Demystifying Powerlifting: A Sport for Everyone
When you hear "powerlifting," it's easy to picture massive human beings lifting cartoonish amounts of weight on an international stage. And sure, that's the very tip of the spear. But that's not what the sport looks like for most of us.
For the everyday person, powerlifting is a personal journey. It’s about showing up, being consistent, and getting just a little bit stronger than you were last time. It's a sport built on celebrating your own progress, one hard-earned pound at a time.
The community is probably not what you expect, either. It’s packed with college students juggling exams and training, working parents squeezing in a session after a long day, and even retirees who are discovering a new level of physical strength. The one thing everyone has in common isn't a certain body type or a pro-level total—it's the drive to be better than yesterday.
More Than Just Lifting Heavy
The benefits of powerlifting reach far beyond the gym. There's a unique kind of confidence that comes from following a structured plan and seeing the numbers on the bar climb week after week. It builds mental grit. This isn't just about getting strong; it's about learning what you're truly capable of.
The real competition is with yourself. The weight on the bar is simply a tool to measure your progress against the person you were last month or last year. Chasing those personal records (PRs) is what makes the journey so addictive and rewarding, especially for beginners.
The sport has also become way more inclusive. It used to be a heavily male-dominated world, but female participation has exploded, jumping from around 10% in the late 1980s to over 30% after 2016. Data also shows that while the peak age for competition is often 24-34, people of all ages are getting involved and finding real success.
Is Powerlifting the Right Fit for You?
So, is this sport for you? A few simple questions can help you figure that out.
- Do you get a kick out of setting clear, measurable goals and then crushing them?
- Are you looking for strength that actually matters in real life? (Think carrying all the groceries in one trip.)
- Do you prefer a structured approach to training instead of just wandering around the gym?
If you're nodding along, you’re in the right place. Powerlifting gives you a clear, no-nonsense roadmap for getting stronger. Unlike general "fitness," your mission is specific: improve your squat, bench, and deadlift. For anyone totally new to the iron, our guide on strength training for beginners is the perfect starting point to build the foundation you'll need. From there, you can layer on the powerlifting principles we'll dive into and start a long, successful journey with the barbell.
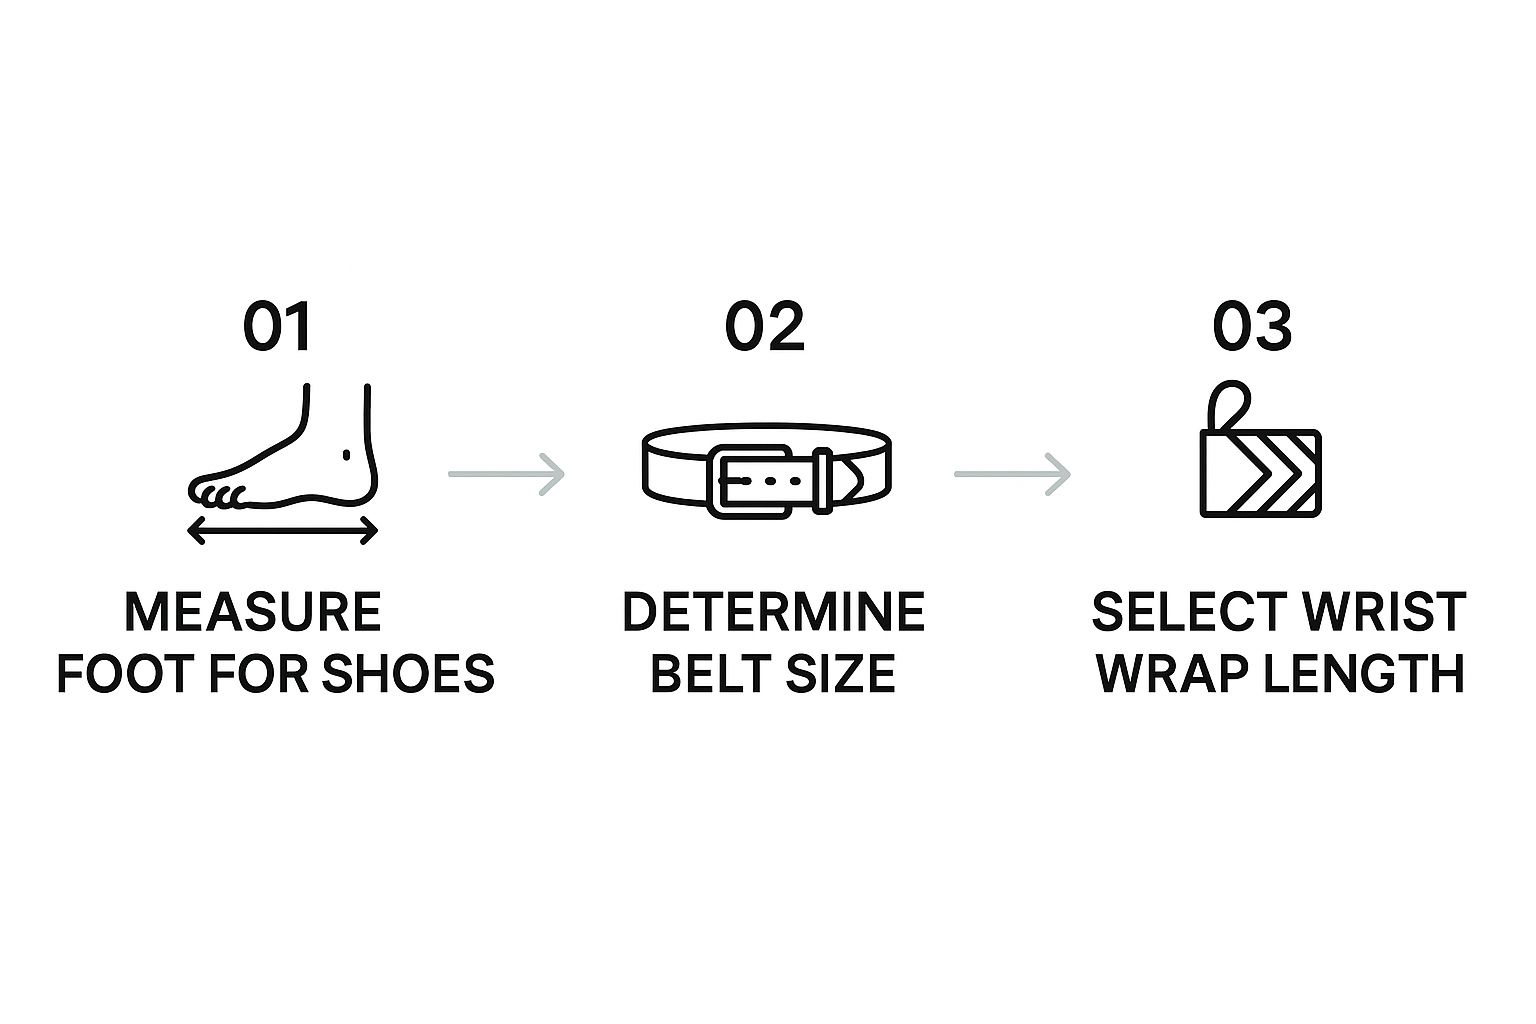
Choosing Your Essential Powerlifting Gear
Before you even think about loading up a barbell, let’s talk gear. In powerlifting, equipment isn’t just for show—it’s a critical part of the puzzle for safety, better form, and the confidence to push yourself. It’s easy to get lost in all the options out there, but honestly, you only need a few key pieces to get started.
Don't worry, this isn't about draining your bank account. It's about smart, targeted investments in equipment that will actually help your training right from the get-go. Let’s break down the essentials that will make a real difference as you start your journey.
Start with Your Foundation: Shoes
Your connection to the floor is everything. Seriously. Those cushioned running shoes you love for cardio? They’re a huge no-go for lifting. Their soft, squishy soles create an unstable surface, which is the absolute last thing you need with a heavy bar on your back.
You're looking for a shoe with a flat, hard sole that won't compress under load. This lets you drive force directly into the ground by "pushing the floor away." For most people starting out, a simple pair of flat-soled shoes like Converse Chuck Taylors or basic skate shoes are a perfect, budget-friendly option. They give you the stability you need without a big price tag.
- Flat-Soled Shoes: These are fantastic for deadlifts and low-bar squats because they keep you low to the ground and promote a solid, balanced stance. They're a great all-around choice.
- Heeled Lifting Shoes: These have a solid, elevated heel (usually wood or hard plastic). That added heel height can be a game-changer for lifters with tight ankles, helping them squat deeper while keeping their chest up. They’re especially helpful for high-bar squats.
My advice? Start with flats. You can always pick up a pair of specialized heeled shoes down the line if you find your squat mechanics could use the boost.
The Lifting Belt: When and Why
The lifting belt is probably the most misunderstood piece of gear in the gym. It's not a back brace that magically fixes bad form. Think of it as an active tool. It gives your abs something to push against, which ramps up your intra-abdominal pressure. This creates a super rigid, stable torso—essential for moving heavy weight safely.
Key Insight: Don't rush into using a belt. Spend your first few months learning to brace your core without one. This builds the foundational strength that a belt is meant to enhance, not replace.
Once you’re handling weights that truly test your ability to stay tight (we’re usually talking squats and deadlifts over 80% of your max), a belt becomes an invaluable ally. When you're ready, look for a quality leather belt that's 10mm to 13mm thick and the same width all the way around.
Protecting Your Wrists on the Bench Press
As your bench press numbers start to climb, you might feel your wrists getting sore or bending back under the weight. This is more than just uncomfortable; it leaks power and puts you at risk for injury. The fix is simple: wrist wraps.
They provide external support to stop your wrist joint from hyperextending. By locking your wrist into a strong, neutral position, you can press with more force and dramatically lower the chance of strain. A solid pair of 12-to-24-inch wraps will give a beginner all the support they need. Wrap them tight enough to feel secure, but not so tight you lose feeling in your hands. This small piece of gear can be a true game-changer for your bench press.
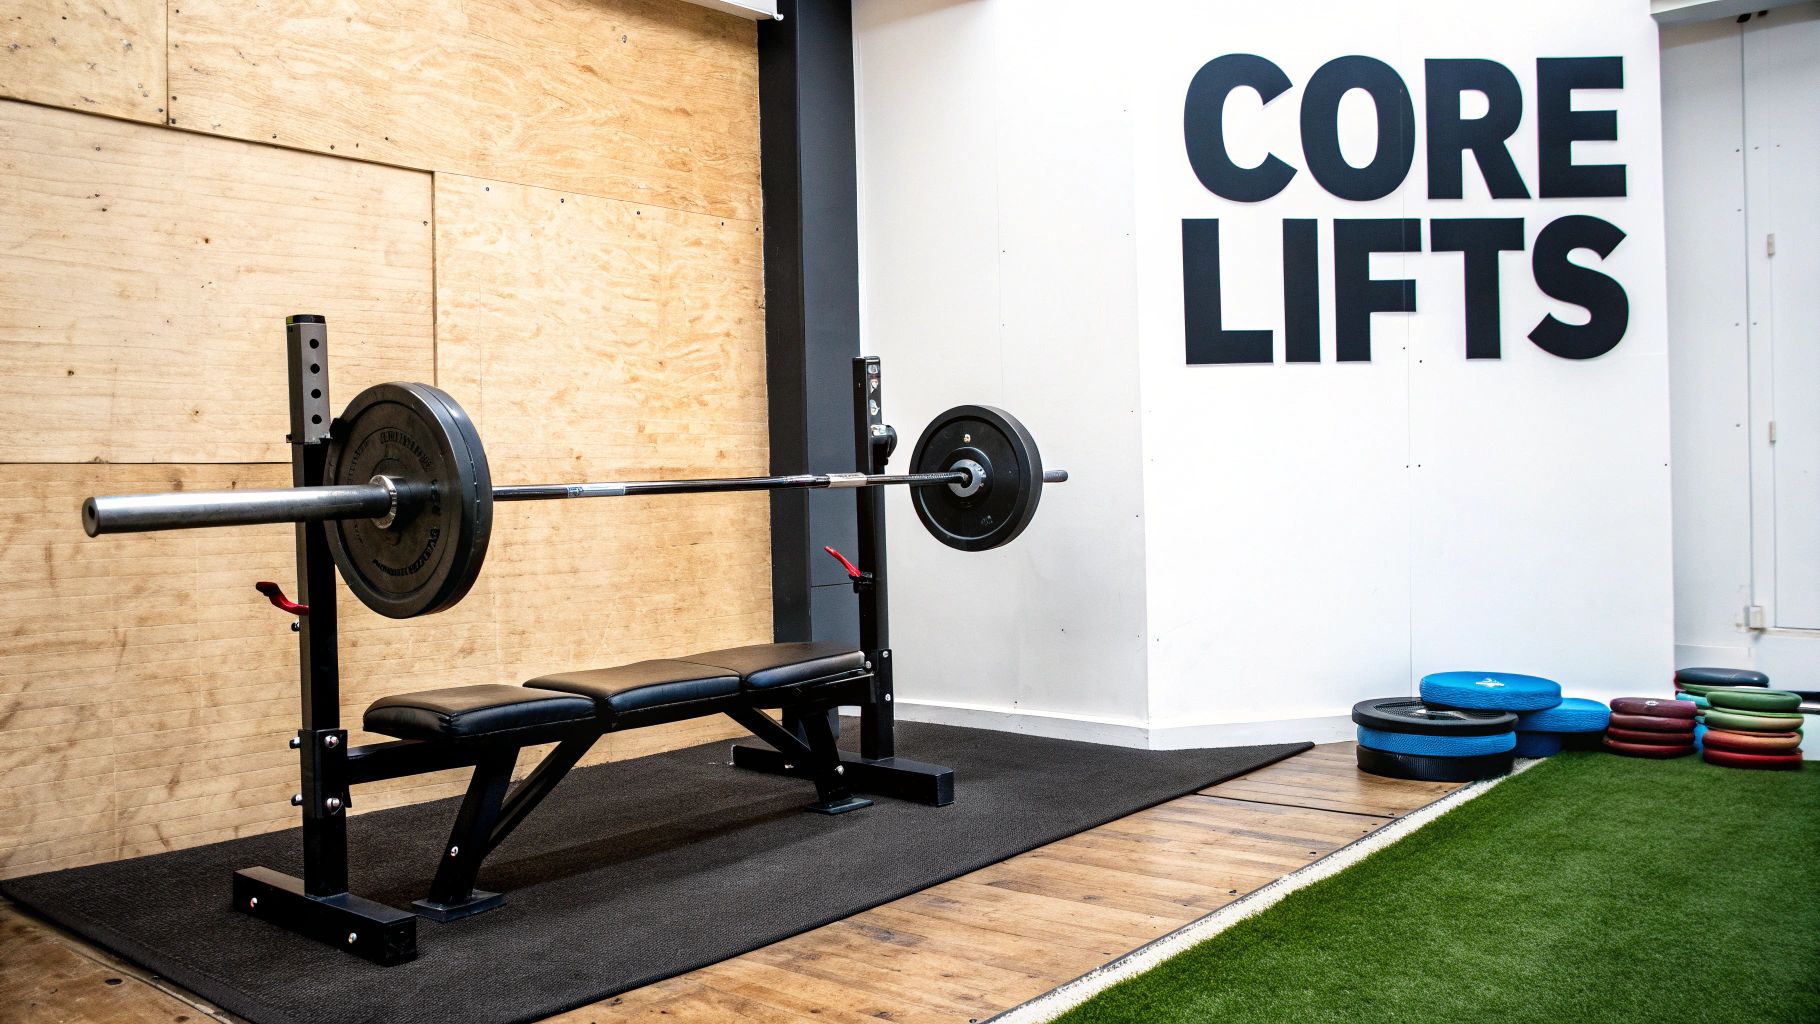
Mastering the Big Three: Squat, Bench, and Deadlift
Alright, this is where the real fun starts. We're moving from theory to actually getting your hands on the barbell. The squat, bench press, and deadlift are the heart and soul of powerlifting, and honestly, you'll spend a lifetime refining them. The goal here isn't just to list steps, but to give you actionable cues you can feel—the kind that build a rock-solid technical base from day one.
For now, forget about how much weight is on the bar. Seriously. Your only mission as a beginner is to drill perfect form with an empty barbell. Think of it like pouring the foundation for a skyscraper; if the concrete has cracks, the whole thing will eventually come crumbling down.
The Foundation of Strength: The Squat
The squat is arguably the most technical of the three lifts. It's a full-body movement that demands a blend of mobility, stability, and raw power. How you set up will make or break the lift, so let's get it right from the get-go.
First up, you need to decide where the bar will live on your back. This choice completely changes the mechanics of the movement.
- High-Bar Squat: The bar sits right on top of your traps, creating a neat shelf. This style keeps your torso more upright and really smashes your quads, but it demands good ankle mobility. You’ll see this a lot in Olympic weightlifting.
- Low-Bar Squat: The bar rests lower down, across your rear delts. You have to actively squeeze your shoulder blades together to build this shelf. This position forces a greater hip hinge, keeping your shins more vertical and firing up your posterior chain—your glutes and hamstrings. This is, by far, the dominant style in powerlifting.
For a beginner powerlifter, I almost always recommend starting with the low-bar position. It lets you tap into the powerful muscles of your hips and back, which means you'll be able to move more weight sooner and more safely.
Once the bar is set, it's time to find your stance. There's no one-size-fits-all answer here; it’s all about your personal hip anatomy. A great starting point is placing your feet just a bit wider than your shoulders, with your toes pointed out somewhere between 15 and 30 degrees. Play around with it. If you feel pinching in your hips at the bottom of the squat, try widening your stance or increasing your toe angle. The goal is to find a position where you can comfortably hit depth (hip crease below the top of your knee) while keeping your spine neutral.
Actionable Cue: Don't just think "squat down." Instead, think "break at the hips and knees at the same time." Imagine you're sitting back onto a small chair that's just a little too far behind you. This cue encourages the right hip-dominant pattern and helps you keep your chest from collapsing forward.
Building Your Bench Press
The bench press might look simple, but the gap between a sloppy "gym bro" bench and a powerful, technical press is enormous. A great bench press isn't just a chest-and-arm exercise; it's a full-body effort that starts with your feet.
Your setup is everything. Before you even think about unracking the bar, you need to create an immovable base. Lie down and plant your feet firmly on the floor. Now, squeeze your shoulder blades together and pull them down toward your butt, like you're trying to tuck them into your back pockets. This creates a stable platform to press from and is critical for shoulder health.
This scapular retraction will naturally create a slight arch in your lower back. This isn't just safe—it's essential. It shortens the bar's path and puts your body into a much stronger mechanical position.
Now for the secret weapon: leg drive. Don't let your legs just chill out. Actively drive your feet through the floor for the entire lift. The feeling you're after is like you're trying to slide yourself backward up the bench, driving your traps hard into the pad. This creates immense full-body tension and helps you transfer force directly into the bar.
The Ultimate Test: The Deadlift
Nothing tests pure, brute strength quite like the deadlift. You just pick heavy weight up off the floor. But its simplicity can be misleading. A safe and strong deadlift demands a perfect setup to protect your spine. Your number one rule, above all else, is to maintain a neutral, flat back from the floor to lockout. A rounded lower back under load is the fastest way to get yourself sidelined with an injury.
Just like the squat, you have two main stances to choose from.
- Conventional: Your feet are about hip-width apart, and you grip the bar just outside your shins. This variation puts more load on your spinal erectors and hamstrings.
- Sumo: Your feet are set much wider, sometimes all the way out to the weight plates, with your toes angled out. You grip the bar inside your legs. This shortens the range of motion and relies more heavily on your hips and quads.
Neither stance is inherently "better"—it all comes down to your individual body structure and which one feels stronger. Most beginners, however, find the conventional deadlift a more natural movement to learn first.
To set up for a conventional pull, walk up to the bar so it cuts your foot in half. Hinge at your hips, then bend your knees to grab the bar, making sure your shins are touching or very close to it. Before you even think about pulling, create tension. Pull the "slack" out of the barbell by engaging your lats—imagine you're trying to bend the bar around your shins. Keep your chest up and pull your hips down into position.
The Most Important Cue: Stop thinking about "lifting" the weight with your back. Instead, focus on "pushing the floor away" with your legs, almost like you're doing a leg press. This mental switch forces your powerful legs to initiate the drive, keeping your back in a safe, static position.
Common Beginner Mistakes in the Big Three Lifts
As you start out, you're bound to make some mistakes—everyone does. The key is to catch them early before they become ingrained habits. Here's a quick cheat sheet for the most common errors I see and how to fix them on the spot.
| Lift | Common Mistake | How to Fix It |
|---|---|---|
| Squat | Knees caving inward (valgus collapse) | Think "spread the floor apart" with your feet. You can also place a light resistance band around your knees to practice pushing them out. |
| Bench Press | Elbows flaring out to 90 degrees | Tuck your elbows to about a 45-75 degree angle. Think about bending the bar into a "U" shape as you lower it. |
| Deadlift | Rounding the lower back to initiate the lift | Pull the "slack" out of the bar and engage your lats before the weight leaves the floor. Think "chest up" and "push the floor away." |
Reviewing this table before your sessions can be a great way to prime your brain with the right cues. Remember, building a big powerlifting total starts with a foundation of flawless technique. Film your sets from the side, be your own toughest critic, and focus on perfect reps. The strength will come.
Your First Powerlifting Program and Workout Structure
Alright, you’ve got the right gear and you’re drilling the techniques. That’s a huge part of the battle, but it doesn't mean much without a solid plan. This is where we put everything into action.
Your first program should be dead simple and built around one core idea: progressive overload. It’s just a fancy term for making things a little harder over time. For someone new to the game, the best way to do this is with linear progression—which means adding a small, predictable amount of weight to the bar every single week.
This works like magic for beginners because your body is basically an untapped well of potential, ready to adapt and get stronger. You don't need complicated programs yet. You just need to show up, stick to the plan, and get a little bit better each time.
The 3-Day Full-Body Split: Your Starting Point
For most beginners, training three non-consecutive days a week (like Monday, Wednesday, and Friday) is the sweet spot. It gives you enough stress to grow but plenty of time to recover. Each workout, you'll hit a squat, a press, and a pull. It's brutally effective.
Here’s a look at how this breaks down.
Workout A (e.g., Monday)
- Squat: 3 sets of 5 reps
- Bench Press: 3 sets of 5 reps
- Barbell Rows: 3 sets of 8-10 reps
- Face Pulls: 3 sets of 15-20 reps
Workout B (e.g., Wednesday)
- Squat: 3 sets of 5 reps
- Overhead Press: 3 sets of 5 reps
- Deadlift: 1 set of 5 reps
- Lat Pulldowns: 3 sets of 8-10 reps
Workout C (e.g., Friday)
- Squat: 3 sets of 5 reps
- Bench Press: 3 sets of 5 reps
- Barbell Rows: 3 sets of 8-10 reps
- Tricep Pushdowns: 3 sets of 10-12 reps
Notice you’re squatting and benching frequently. This constant practice is what locks in your technique. The other lifts, your "accessories," are there to build muscle and shore up weak points. A strong back from rows and pulldowns builds the shelf your bench press needs to thrive.
How to Choose Your Starting Weights
This is where so many people overthink it. Don't. Your first week isn’t about lifting heavy; it's about finding a comfortable baseline.
Walk into the gym and start with an empty barbell (45 pounds) for your main lifts. Do five reps, focusing only on feeling the movement perfectly. If it felt like air, add a little weight—maybe 10-20 pounds—and go again. Keep doing this until the bar starts to slow down just a bit, but still feels very much in your control.
Key Takeaway: Whatever weight you land on, it should feel light. You should finish your sets feeling like you had several more reps in the tank. It’s far better to start too light and build momentum than to start too heavy, miss reps, and kill your confidence from day one.
The Engine of Progress: How to Add Weight
Once you have your starting numbers, making progress is simple. Every time you hit all your sets and reps for a given lift, you earn the right to add weight next time.
- For Squats and Deadlifts: Add 5-10 pounds (a 2.5lb or 5lb plate on each side).
- For Bench Press and Overhead Press: Add 5 pounds (a 2.5lb plate on each side).
So, if you squatted 135 pounds for 3x5 on Monday, your goal for Wednesday is to hit 140 or 145 for 3x5. This tiny, consistent jump is the engine that will drive your strength up for months.
Setting Realistic Timelines
It helps to know what a typical lifter's journey looks like. Research shows that strength climbs rapidly through your teens and twenties, with most powerlifters peaking between 27 and 31 years old. After that, things tend to decline slowly. You can dig into the specifics of these age-related performance trends in this detailed study. The point is, powerlifting is a marathon, not a sprint.
Stick with this program for a solid 8-12 weeks. Be relentless. Track every lift in a notebook or an app. After a few months, your progress will naturally start to slow down. That’s not a sign of failure—it’s proof that you’ve built a real foundation of strength and are ready for a more advanced program.
Fueling Your Lifts With Smart Nutrition
Let’s be honest: training hard is only half the battle. You can bust your ass in the gym day after day, but you build serious strength in the kitchen. Nutrition can feel overwhelming, but for a new powerlifter, it’s really about two things: giving your body the fuel to perform and the raw materials to repair and grow.
Think of it this way. Your workouts are the construction crew putting in the hard labor. But if the supply trucks don't deliver bricks, mortar, and steel, nothing gets built. Your food is those supply trucks, and you need to keep them coming.
Your Macronutrient Blueprint
You don’t need to become a nutritionist overnight. Just get a handle on the big three macronutrients—protein, carbs, and fats—and you'll be miles ahead of most people.
-
Protein: This one is non-negotiable. It’s the literal building block for muscle. When you train hard, you create tiny micro-tears in your muscle fibers. Protein provides the amino acids to patch them up, making them stronger and bigger than before. A good starting point is aiming for 0.7-1.0 grams of protein per pound of body weight.
-
Carbohydrates: Carbs are your high-octane fuel. They get stored in your muscles and liver as glycogen, which is what your body burns through during those grinding sets. If you cut carbs too low, you’ll just feel flat, weak, and miserable under the bar.
-
Fats: Healthy fats are critical for hormone production—including the ones that help you build muscle. They also help you absorb certain nutrients and are key for your overall health. Don't be afraid of fats; just get them from good sources like avocados, nuts, and olive oil.
Want to go deeper on structuring your meals for peak performance? We have a complete guide on nutrition for strength training that lays out more detailed strategies.
Timing Your Fuel for Peak Performance
When you eat can be almost as important as what you eat, especially on training days.
Try to get a simple pre-workout meal in about 60-90 minutes before you lift. You’re looking for easily digestible carbs with a bit of protein. Think a banana with a scoop of protein powder, or a simple bowl of oatmeal. This tops off your energy stores and gets your muscles ready for work.
After you train, the goal is to kickstart recovery. Getting a mix of fast-digesting protein and carbs into your system within an hour or two helps replenish that glycogen you just burned and sends amino acids straight to your muscles when they're screaming for them. A protein shake and a piece of fruit is a classic for a reason—it works.
A Quick Tip from Experience: Don't obsess over chugging a shake the second you drop the bar. The whole "anabolic window" idea is way more flexible than people used to think. Just focus on getting a solid meal in within a couple of hours of finishing your workout, and you'll be golden.
Smart Supplementation For Powerlifting Beginners
The supplement world is incredibly loud and confusing. The good news? You only need to focus on a few tried-and-true products that actually have the science to back them up.
-
Creatine: This is hands-down the most researched and effective supplement for boosting strength, power, and muscle mass. It helps your body regenerate its main energy source (ATP), which lets you squeeze out that crucial extra rep or two on your heavy sets. Taking 5 grams daily is the gold standard.
-
Protein Powder: Let’s face it, eating enough protein from whole foods can get tough, not to mention expensive. A good whey or casein protein powder is a super convenient and cost-effective way to make sure you’re hitting your daily targets for muscle growth.
-
Vitamin D: A lot of athletes are low on the "sunshine vitamin," which is vital for bone health and your immune system. If you live somewhere with long winters or don't get much sun, supplementing with Vitamin D is a smart move.
Reaching your strength goals is a tough journey. For instance, powerlifting benchmarks remain an exceedingly rare accomplishment worldwide. Data from 2019 revealed that only about 0.02% to 0.05% of the global population can bench press 300 pounds. This statistic shows just how challenging these goals can be, emphasizing the need for every advantage, including dialed-in nutrition. To learn more about these figures, you can read the full strength analysis at AllAboutPowerlifting.com.
How to Recover and Prevent Common Injuries
The time you spend under the bar is what tells your body to get stronger. But the real magic—the actual muscle and strength building—happens between your workouts. Think of it as a cycle: you apply stress (lifting), and then your body adapts (recovers). If you skip the adaptation part, you're just spinning your wheels and setting yourself up for failure. The smartest lifters I know are obsessed with recovery because they understand it's not optional; it's a mandatory part of any good powerlifting program.
Let's start with your most powerful, and honestly, most overlooked recovery tool: sleep. When you're sleeping, your body is working overtime. It’s releasing growth hormone, repairing busted-up muscle fibers, and giving your central nervous system (CNS) a much-needed break from the strain of heavy lifting. If you're serious about long-term progress, getting a solid 7-9 hours of quality sleep every night isn't just a good idea—it's non-negotiable.
Your Strategy for Off Days
A rest day doesn't mean you have to melt into your couch. Instead of doing absolutely nothing, try practicing active recovery. This just means doing some low-intensity stuff to get blood flowing to your muscles. More blood flow helps flush out metabolic waste and bring in fresh nutrients, which can dramatically cut down on soreness and get you ready for your next big session.
Here are a few simple things you can do on your off days:
- Mobility Work: Just 10-15 minutes of dynamic stretches or mobility drills for your hips, shoulders, and ankles can work wonders. It helps undo the stiffness from lifting and can actually improve your form on the big three.
- Foam Rolling: Spend some time hitting sore spots like your quads, hamstrings, and upper back. It’s basically a form of self-massage that can help release knots and improve tissue quality. It hurts so good.
- Light Cardio: A simple 20-30 minute walk or a casual bike ride is perfect. The goal is just to get your blood pumping without adding more stress to your system.
By actively helping your body heal, you're speeding up the entire process. For an even deeper look at how to optimize this, check out our complete guide on post-workout recovery.
The Power of the Deload
A "go hard or go home" attitude is a fast track to burnout and injury. That's why smart lifters plan for a deload week. This is a scheduled week where you intentionally pull back, either by reducing the weight on the bar, cutting down your sets, or a little of both.
A deload isn't a sign of weakness; it's a mark of a smart lifter. It gives your body and mind a strategic break, letting all that built-up fatigue melt away so you can attack your next block of training even harder.
Most people plan a deload every 4 to 8 weeks. During this week, you might drop your working weights down to about 50-60% of your usual numbers and just focus on perfect, snappy reps. This approach is way better than taking a full week off because you keep your technique sharp while still getting that deep recovery. It's a game-changer for preventing injuries and making sure you can stay in this for the long haul.
Here at Smash.com, we live by the idea that consistent effort plus smart recovery is the formula for success. Fueling that recovery is a huge piece of the puzzle. Our creatine gummies make getting your daily 5g dose simple, supporting muscle repair and power so you can show up stronger for every single session. Taste the difference and make your recovery simpler and more effective.